The Flemish Technique, practiced by master painters in 15th-17th century Flanders builds great depth of color, ensures a full value range, and helps with accuracy in realism. I recently documented a painting of pansies that I did in the Flemmish Technique. I really enjoy this technique as it breaks everything down to manageable steps and builds such rich depth in the painting that you just can’t seem to get with a direct painting method. It is very interesting that paintings done in the Rennaisance will outlast any done afterward. They just get more beautiful and transparent with age. Museums spend a lot of money trying to care for more modern collections in which the artists didn’t understand the chemistry, materials or techniques behind good works of art.

The Drawing on Canvas Panel – use charcoal, or pencil and either “fix” the drawing with fixative or ink with india ink and brush. The time invested on a great drawing is well spent as it is the bones of your painting.

The Imprimatura – allows increased ability to judge values in the next layer. Contrast between a white canvas and applied values may make you judge them darker than they really are.

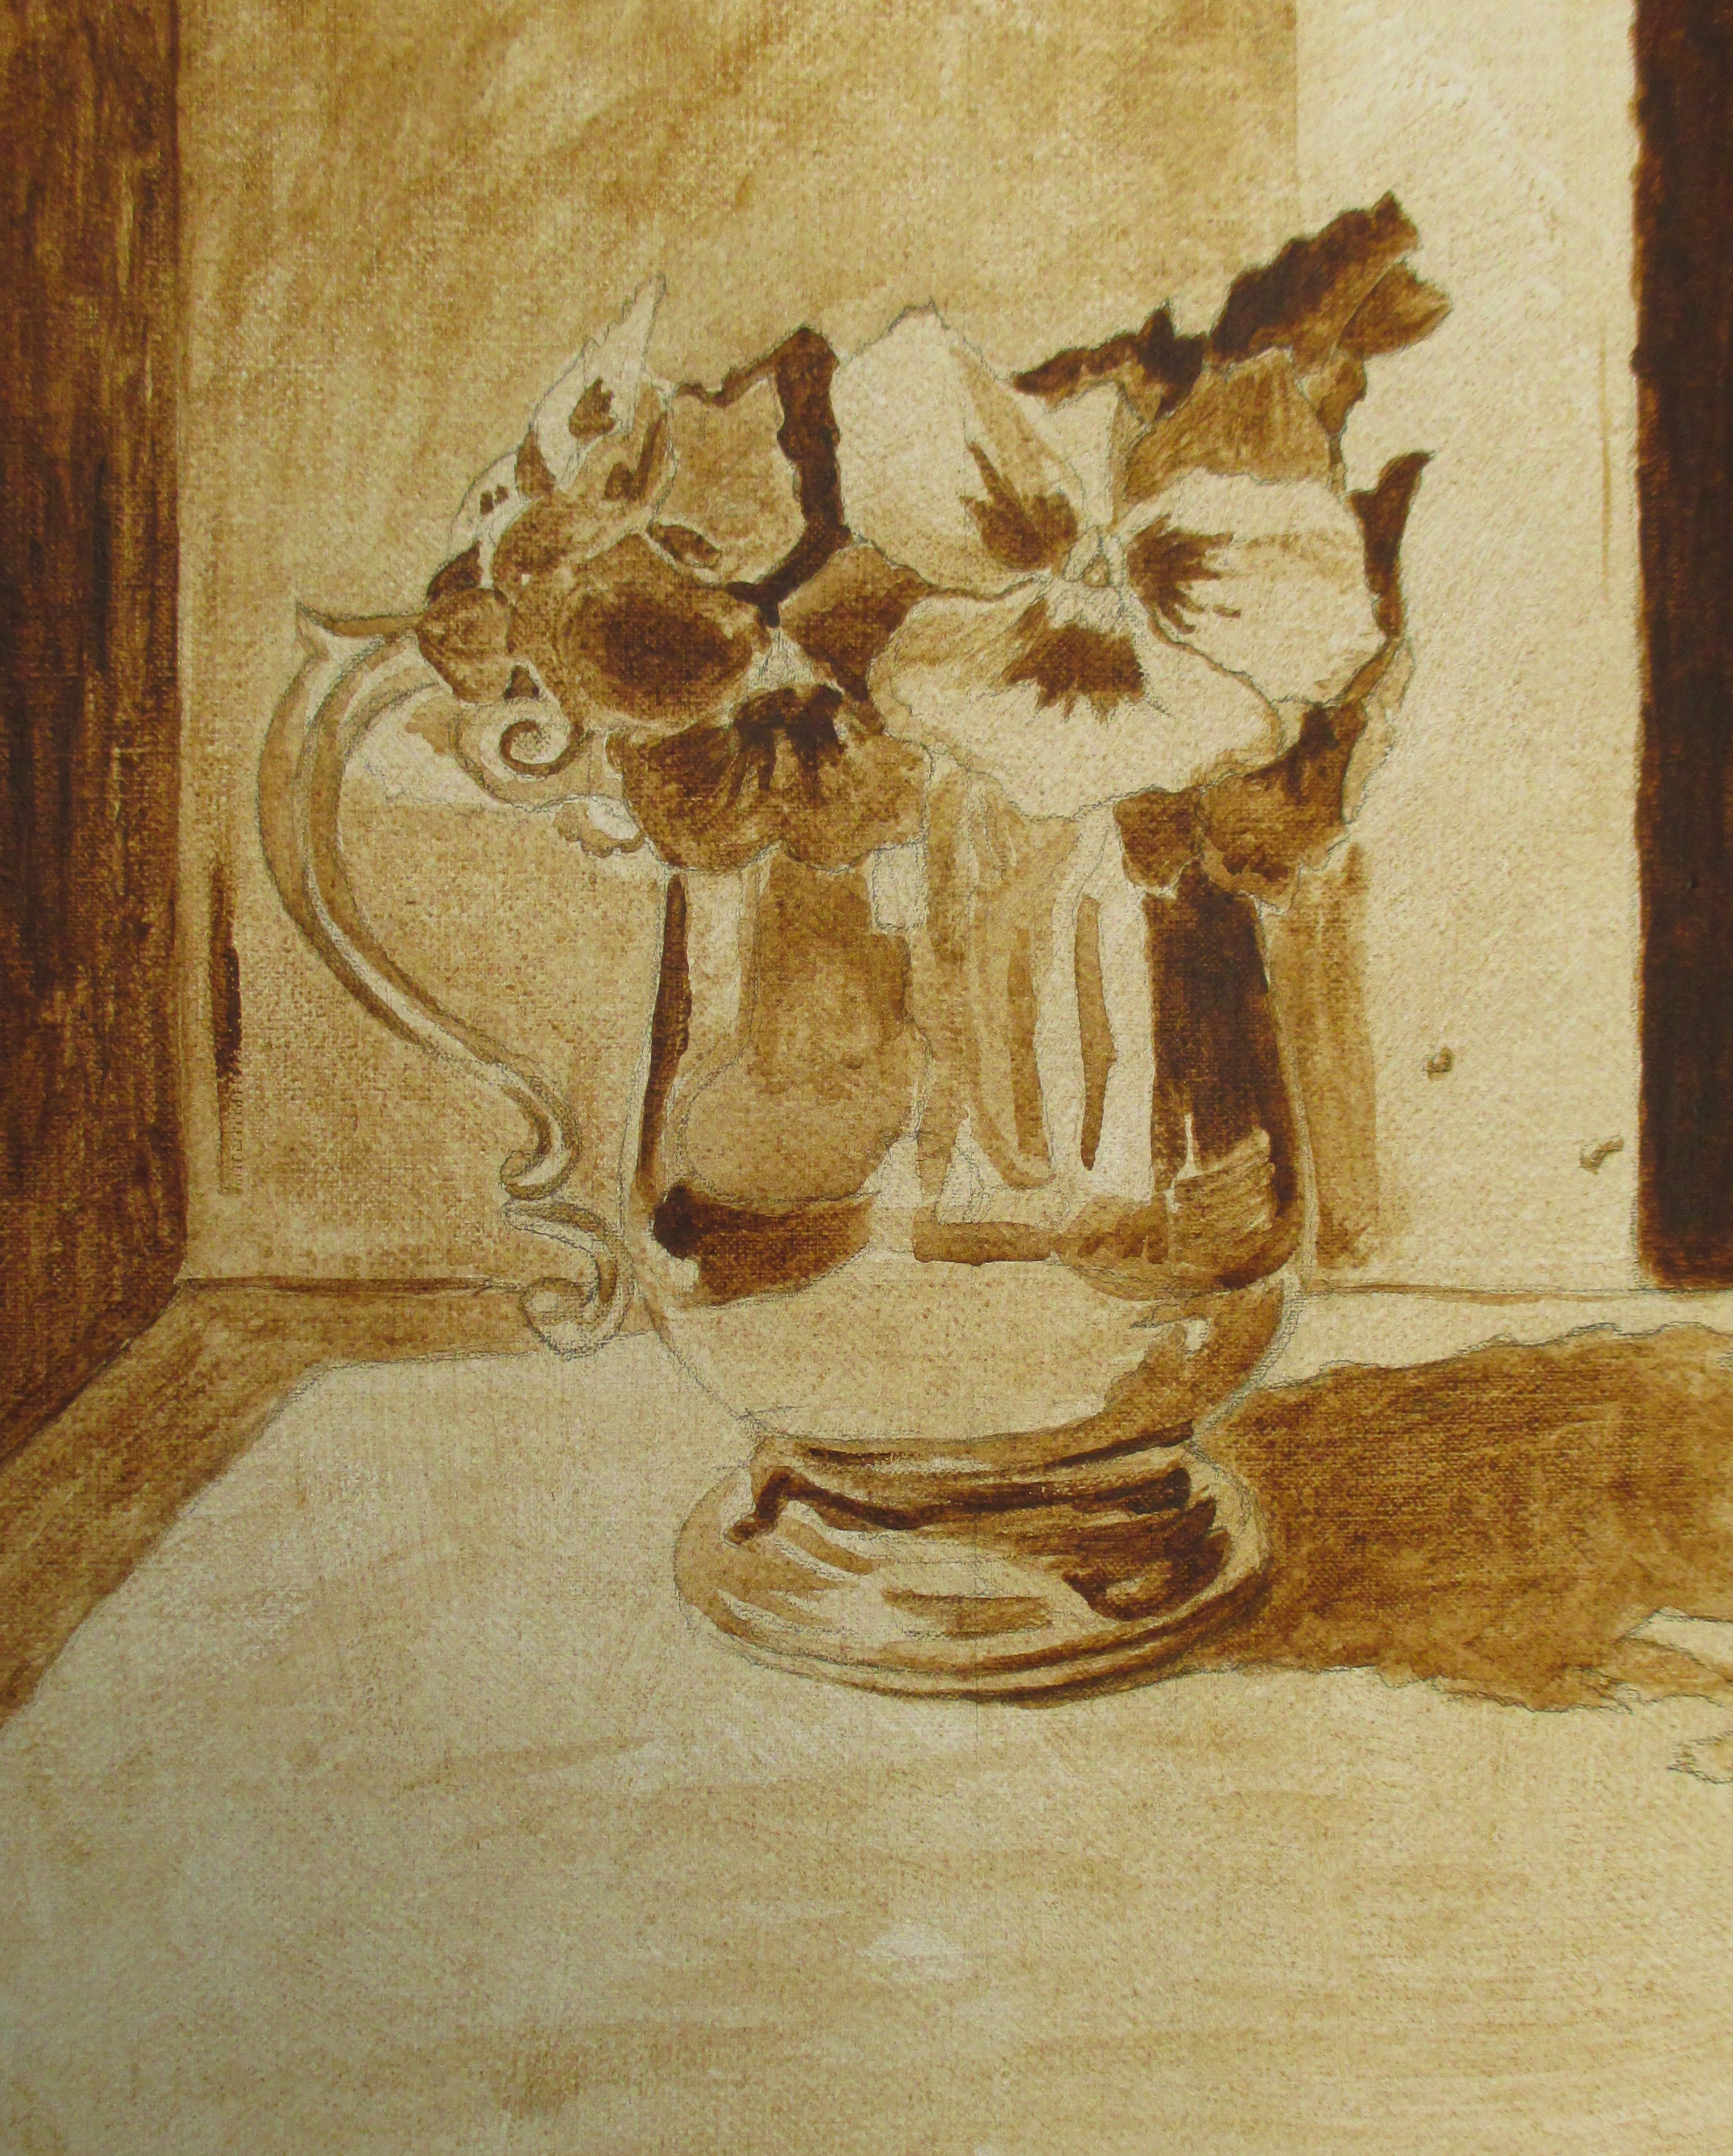
Applying the umber layer. The goal of this layer is to establish value and some detail.

The Dead Layer, or Grisaille. Prepareat least 5 shades of grey. The purpose of this layer is to establish the modeling of your painting. You should spend most of your time on this layer. If you do, the subsequent color layers will go as smoothly as “butta” (butter).

The Color Layers. Since you have isolated all the other steps to concentrate only on the issues at hand, color is now the icing on the cake. Build up layers of color glazing. Transparent layers will give you more of an illusion of depth and richer, more vibrant colors. Keep the shadows transparent. Use heavier impasto in the light and on highlights especially.